
A commercial real estate cost segregation study changes the economics of a deal fast. If residential investing trained you to think in 27.5-year depreciation, commercial property forces a different playbook, and this guide shows exactly how the process works from feasibility call to tax return filing.
Why This Process Matters for Commercial Owners
Commercial property usually depreciates over 39 years, not 27.5 years. That longer schedule slows deductions and ties up cash that could fund reserves, tenant improvements, or the next acquisition. A commercial cost segregation study fixes that by carving shorter-life assets out of the building and moving them into 5-year, 7-year, and 15-year categories.
That shift does not eliminate tax forever. It pulls deductions forward. For an owner scaling into multifamily, retail, or triple-net property, that timing difference changes first-year cash flow and deal ROI in a very real way.
What You’ll Need Before Starting
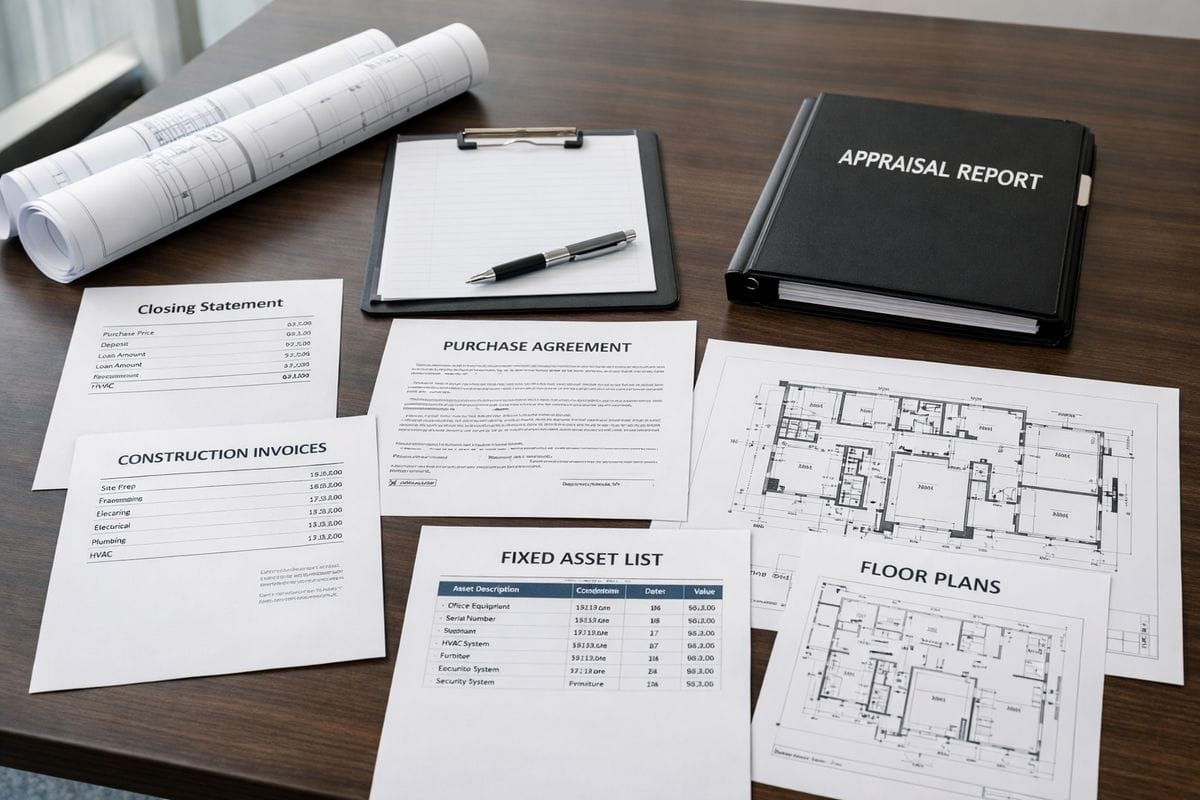
Before any engagement starts, assemble the records that support basis and component costs. The file set usually includes the purchase agreement, closing statement, depreciation schedule, appraisal if available, construction invoices, remodel records, plans, site drawings, and fixed asset listings. The recommendation is simple: give the study team source documents, not summaries.
A qualified CPA also needs to be involved from day one. The engineering firm handles classification and report support. The CPA handles implementation, passive loss limits, entity issues, and filing mechanics. That division matters.
Properties That Usually Produce the Strongest ROI
Based on analysis of benchmark allocations, multifamily, retail, hospitality, and specialty-use properties usually produce stronger accelerated percentages. Amenities, interior finishes, dedicated electrical, exterior improvements, and frequent remodels all push more basis into shorter lives.
Standard office and warehouse properties usually produce lower percentages. Field data shows industrial and warehouse assets often land near the bottom because so much of the basis sits in structural components.
Minimum Deal Size and Feasibility Threshold
A practical screening point is about $300,000 of depreciable basis, or roughly $375,000 and up in purchase price. Below that level, study cost can eat too much of the tax benefit.
Traditional commercial studies usually cost $8,000 to $20,000, with larger or more complex assets running higher. The real test is simple: compare study fee against first-year tax savings, then test the hold period.
Step 1: Confirm That the Property Qualifies and the Numbers Justify the Study
Every strong engagement starts with a feasibility call. This is the first gate because not every commercial property produces enough accelerated depreciation to justify the fee.
- Confirm the property type, purchase price, placed-in-service date, and improvement history.
- Estimate depreciable basis after removing land.
- Apply a realistic accelerated allocation based on asset class.
- Compare projected tax savings against the study fee.
Success at this stage looks like a clear yes or no. If expected savings barely exceed cost, skip the study.
Separate Land From Depreciable Basis
Land does not depreciate. The first calculation isolates land value from the total acquisition cost, usually using the appraisal, assessor allocation, or another supportable method. The remaining building and site-improvement basis becomes the pool available for reclassification.
Estimate a Realistic Accelerated Allocation
Field data across more than 8,000 studies shows a common accelerated range of 10% to 40%, with a 24.0% median. Standard apartment and office properties usually sit around the middle. Specialty retail, hospitality, and automotive assets can run much higher.
If a standard office building comes back with a 45% or 50% accelerated allocation, treat that as a warning sign, not a windfall.
Compare Expected Tax Savings Against Study Cost
Run the tax math before signing the engagement. If a study costs $12,000 and first-year tax savings are $60,000, the ROI is obvious. If the study costs $10,000 and expected savings are $14,000, the benefit is too thin.
Step 2: Gather the Property Records the Engineering Team Uses
A defensible study depends on documents and field evidence. Guesswork creates audit problems and weakens the report.
- Send acquisition and construction records to the study team.
- Provide remodel and capital improvement history.
- Coordinate site access for inspection.
- Confirm the engagement letter and fee agreement.
This is the point where the process becomes formal. The engagement letter sets scope, timing, fee, and deliverables.
Core Acquisition and Construction Documents
The core file usually includes the settlement statement, purchase agreement, appraisal, rent roll if relevant, draw schedules, contractor pay applications, invoices, and any fixed-asset detail. These records support both total basis and component-level costing.
Improvement and Remodel History
Later improvements matter just as much as the original acquisition. Unit renovations, lobbies, parking lots, roofs, and mechanical replacements all affect classification. Good records here also create future value when components are retired and written off.
Site Visit Access and Physical Inspection Prep
Most quality studies include a physical inspection by engineers, not just a desktop review. During the inspection, engineers photograph components, verify finishes, count assets, measure site improvements, and document what the building actually contains. That physical inspection is what gives the report audit strength.
Step 3: Break the Building Into Depreciation Categories
This is the technical core of the study. Engineers and tax specialists map each component to the correct asset life based on tax authority and field facts.
- Identify personal property assets.
- Identify 7-year assets where applicable.
- Identify land improvements.
- Leave structural components on the 39-year schedule.
- Reconcile all classifications back to total basis.
Identify 5-Year Property
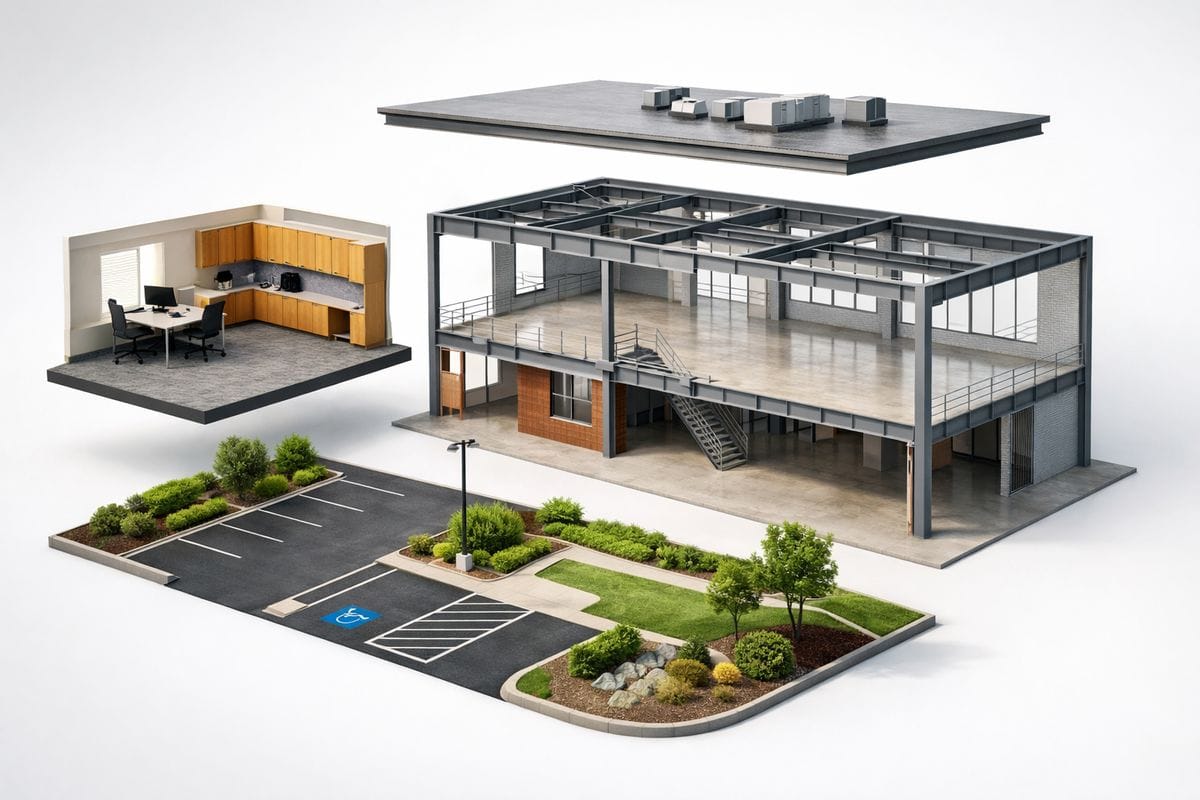
This category often includes carpet, vinyl flooring, cabinetry, appliances, specialty lighting, certain dedicated electrical, security systems, fire alarms, kitchen equipment, and movable partitions. These assets serve business use or interior function, not the structural shell.
Identify 7-Year Property
This bucket is smaller and more property-specific. Classification depends on the actual asset and how it is used. The point is not to force assets into 7-year life, but to assign the correct recovery period based on engineering facts.
Identify 15-Year Land Improvements
Parking lots, landscaping, fencing, sidewalks, exterior lighting, drainage, pools, signage, and underground tanks usually fall here. These assets sit outside the building structure and depreciate faster than the building itself.
Leave 39-Year Structural Components in Place
The structural frame, load-bearing walls, roof structure, common plumbing, major HVAC serving the building, and core systems generally stay on the 39-year schedule for nonresidential property. A good report is aggressive only where the facts support it.
Step 4: Calculate the Depreciation Impact and First-Year Tax Benefit
Once the classifications are complete, the report translates engineering work into tax numbers.
- Run straight-line depreciation without cost seg.
- Apply the new 5-, 7-, and 15-year lives.
- Layer in current bonus depreciation rules.
- Convert added deductions into tax savings.
Run the Standard 39-Year Baseline First
Start with a control case. In a $1,000,000 office example, with $200,000 allocated to land and $800,000 to depreciable basis, standard 39-year depreciation produces about $20,512.82 annually.
Apply Reclassified Asset Lives
In that same example, reclassifying portions into 5-, 7-, and 15-year property increased first-year depreciation to about $52,106.23 without bonus depreciation. That is the real value of the process: front-loaded deductions and stronger near-term cash flow.
Factor in Bonus Depreciation Rules
Bonus depreciation changes the speed of the benefit on qualified shorter-life assets. Planning assumptions should reflect current law and filing year. If bonus applies, first-year deductions rise sharply. If bonus phases down, the study still works, but the timing profile changes.
Translate Depreciation Into Tax Savings
The deduction only matters if it reduces tax. In the office example, the additional first-year depreciation translated into about $11,689.56 of tax savings without bonus depreciation.
Step 5: Review the Final Report and Make Sure It Is Defensible
The final report is the product you are paying for. It is also your audit file.
- Review methodology and asset listings.
- Confirm photos and inspection notes are included.
- Check legal support and class-life citations.
- Reconcile totals to depreciable basis.
- Push back on unsupported aggressive allocations.
What a Quality Cost Segregation Report Includes
A strong report includes methodology, component listings, depreciation classes, photos, measurements, legal authority, assumptions, calculations, and a full reconciliation to total basis. Based on engineering practice, detail drives audit defense.
Red Flags That Signal Aggressive or Weak Allocations
Watch for vague asset descriptions, no site inspection evidence, missing legal support, or percentages far above market benchmarks. Based on benchmark data, a 24% median allocation is a realistic anchor for standard properties.
Step 6: File the Tax Change Correctly With Your CPA
The report creates the deduction. The tax return claims it.
- Post the asset classes to depreciation schedules.
- File Form 4562 for current-year assets.
- Use Form 3115 for look-back studies.
- Review passive activity, at-risk, and state issues before filing.
Use the Study in the Year of Acquisition, Construction, or Remodel
The best time to do the study is the placed-in-service year. Documentation is fresh, implementation is simple, and time-to-value is shortest.
Handle Look-Back Studies Without Amending Prior Returns
A late study still works. For property already in service, the CPA can file Form 3115 and claim a Section 481(a) catch-up adjustment instead of amending prior returns. A $3 million commercial building bought five years ago, with roughly $2.4 million of depreciable basis and a 24% accelerated allocation, can easily generate $400,000 or more of missed deductions in year six through a look-back study.
Coordinate Passive Activity, At-Risk, and State Tax Issues
Accelerated depreciation does not guarantee immediate usable losses. Entity structure, passive loss rules, at-risk limits, and state conformity determine the actual outcome on your return.
Step 7: Plan for the Downstream Effects Before Claiming the Benefit
The recommendation is to model the full life of the asset before filing. Cost seg improves current cash flow, but it also changes future tax timing.
Account for Depreciation Recapture on Sale
Accelerated depreciation can create recapture when you sell. That does not erase the value of the strategy, but it does require planning at acquisition, refinance, and exit.
Use the Study to Support Future Component Write-Offs
Detailed asset schedules help when replacing roofs, HVAC, parking areas, or interior finishes. That support can create additional deductions through partial disposition and retirement loss treatment.
Consider Related Incentives Such as Section 179D
For larger commercial improvement projects, energy-efficiency deductions under Section 179D can complement cost segregation. That planning works best before construction closes out.
Troubleshooting Common Issues
The Property Has Limited Records
Missing invoices and plans slow the process and reduce precision. Substitute documents such as appraisals, contractor summaries, photos, and field measurements can still support a study, but stronger records produce faster and cleaner results.
The Estimated Allocation Looks Too High
Test the result against property-type benchmarks. Standard office and warehouse assets usually land well below specialty retail or automotive properties. Outlier claims need outlier proof.
The Tax Return Is Already Filed
A filed return does not end the opportunity. A look-back study paired with Form 3115 captures missed depreciation without amending prior years.
The Owner Expects Permanent Tax Elimination
Cost segregation is a timing strategy. It accelerates deductions into earlier years and improves current cash flow. It does not erase tax forever.
Expected Outcome: What Happens After a Successful Study
After a successful study, you end up with a documented reallocation of depreciable basis, a larger current-year deduction, stronger near-term cash flow, and a clearer tax forecast for the asset. The right next move is a feasibility review using actual basis, tax rate, study fee, and hold period assumptions before ordering the full report.
Frequently Asked Questions
How long does a commercial cost segregation study take?
Most engineered studies take four to eight weeks from document collection through final report, depending on property size, record quality, and site access.
Is a desktop study enough for IRS defense?
No. An engineering-based study with a physical inspection is the standard for a defensible commercial report. Desktop-only work is weaker and attracts more scrutiny.
What forms are used to claim the deduction?
Current-year studies typically flow through Form 4562. Look-back studies usually require Form 3115 and a Section 481(a) adjustment handled by your CPA.
What is a good ROI on study cost?
If an $8,000 to $20,000 study generates tax savings several times the fee in year one, the economics work. Strong studies often produce double-digit multiples on cost.
Does cost segregation work on multifamily property too?
Yes. Multifamily often produces strong results because interiors, amenities, and site improvements create a meaningful pool of shorter-life assets, even though residential rentals otherwise depreciate over 27.5 years.